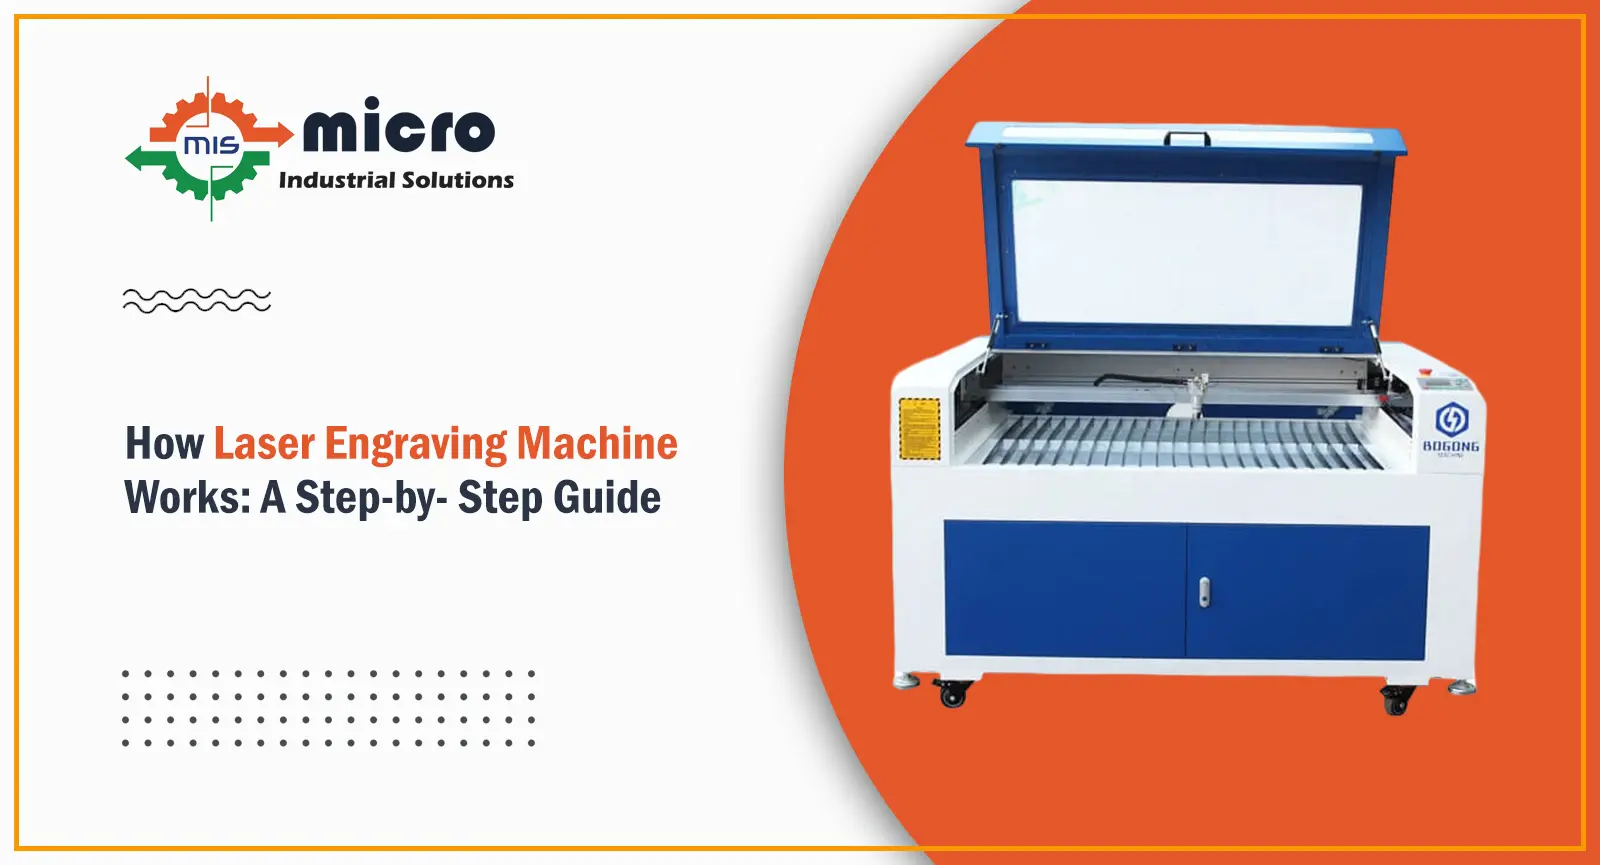
If you spend even a little time around a workshop, you’ll notice that marking jobs need to be quick and clean; they slow everything down. That’s where a Laser Engraving Machine usually fits in. It’s not something operators struggle with once they get used to it. In fact, most people see it as a simple tool that just needs the right setup. The machine doesn’t cut or press the surface. It simply uses a laser to remove a thin top layer, and that’s how the design appears. Whether it’s a serial number, a name, or a logo, the process stays the same. What really makes a difference is how you prepare the job before starting. If the design, material placement, and settings are correct, the machine runs smoothly and gives a clean result without much effort, which is why it’s used so regularly for marking work.
Step 1: Start With the Design
First thing is the design. You can’t skip this.
- Make the design in simple software
- Keep size and alignment proper
- Send the file to the machine
The machine will follow whatever you give it. If the spacing is off or the design is wrong, the Laser Engraving Machine will still engrave it the same way. It doesn’t correct mistakes.
Step 2: Fix the Material Properly
Now place the material inside the machine.
- Keep it flat on the bed
- Make sure it doesn’t shake or move
- Clean the surface if it’s dusty
People ignore this step, but it causes most problems. If the material moves even slightly, the design will shift. A stable setup helps the Laser Engraving Machine do clean work.
Step 3: Set Power and Speed
This is the step where people usually learn by doing. If the settings are off, the result won’t look right, so it’s worth taking a minute here.
- Power setting – keep it low for wood because it burns quickly; increase it only if the material is harder
- Speed setting – slower speed gives deeper marking, faster speed gives lighter marking
- Focus setting – make sure the laser is properly aligned on the surface, otherwise the engraving will look dull
With wood, especially, you don’t need to put in too much power. A balanced setting works better and keeps the finish clean. Metal needs more power. After some time, you don’t even think much; you just set the Laser Engraving Machine based on what you’ve seen before.
Step 4: Let It Do the Work
Once everything is ready, start the job.
- The laser follows the design path
- Heat removes the top layer
- The marking shows up slowly
There’s no physical contact at all. The Laser Engraving Machine just moves as per the file and does the job cleanly. That’s why the output looks sharp and neat.
Step 5: Take Out and Check
After the job is done, don’t just remove and leave.
- Take out the material carefully
- Wipe off dust or burn marks
- Check if everything looks right
Sometimes you’ll see slight residue, especially on wood. A quick clean fixes it. A properly set Laser Engraving Machine usually doesn’t need a second try.
Why People Keep Using It
People don’t use this machine because it sounds advanced. They use it because it saves effort and time.
- No tool touches the material
- Works on different materials
- Same result again and again
- Less manual work
Once you start using a Laser Engraving Machine regularly, it just becomes part of the job. You don’t think much about it.
Conclusion
In simple terms, a Laser Engraving Machine makes marking work much easier once you understand the basics. You don’t need to keep adjusting it again and again. Just set the design, place the material properly, and keep the settings right. After that, it works smoothly and gives clean results. It saves time, reduces mistakes, and keeps the work going without delays. For regular use and reliable performance, Micro Industrial Solutions offers a solution you can trust to keep your work simple and consistent every day.
Micro Industrial Solutions
Micro Industrial Solutions is a well-known manufacturer of marking machines in India. Our company has been providing quality services to clients since 2014.